How to make your food photos even more fabulous. Follow this advice from experts and create a feast for the eyes
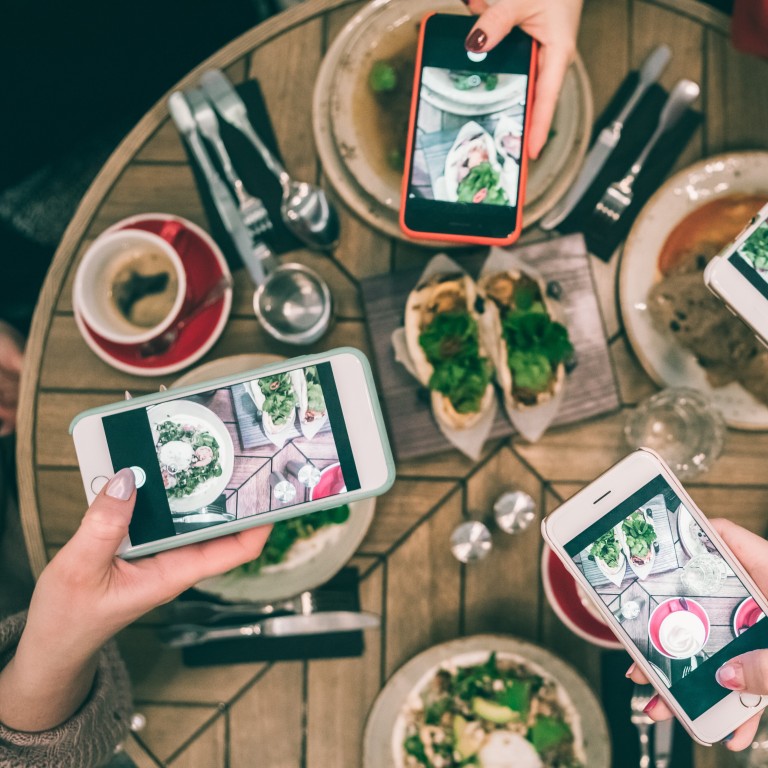
- Great food photos on Instagram really stand out, but why are most people’s food shots so dreary?
- These expert tips for colour, lighting, angles and composition should help you create mouth-watering photos
Why is it that photographs of food wind up being so disappointing – distressing, even – for anyone who isn’t a professional photographer?
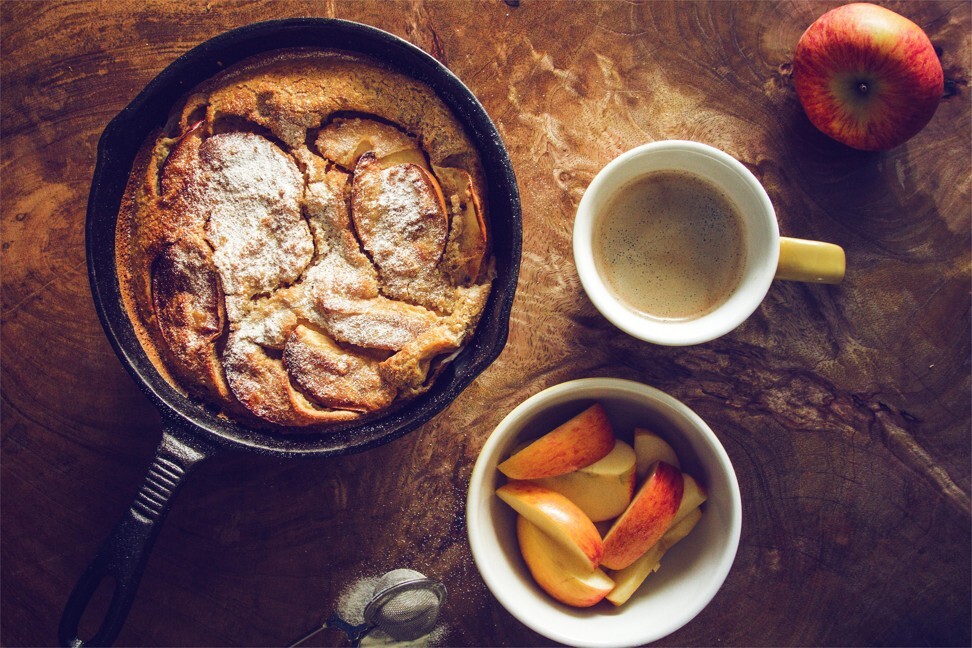
Light is the first thing to bear in mind if you want your picture to look appetising, so put the dish or item close to a window so it gets as much light as possible. “The light should come diagonally from the side or diagonally from behind, not from above or the front,” says food blogger Vera Wohlleben.
“Early morning light works well for food photography, as shadows are still relatively soft and the colours look bright and natural,” says Stina Spiegelberg, a food photographer and TV chef. You can also try early afternoon between 2pm and 4pm, depending on the season.

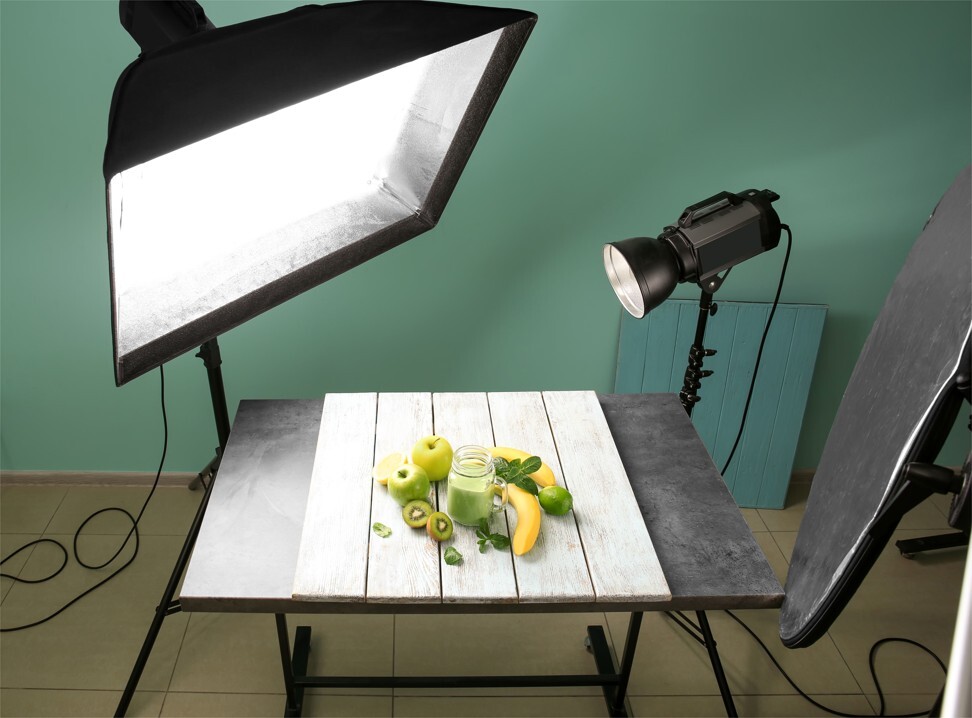
In winter, try a soft box, says Spiegelberg. These lamps, which fold up into a small size when not needed, will create a soft light that gets evenly distributed over the food. Avoid mixing artificial light with daylight.
In a restaurant, however, try to make the mood into a feature, says Wohlleben. Jazz up the background with a bread basket and wine glasses, for example – and resist the temptation to use a frontal flash, she says.

Instead, plan how you want the image to look and pick a spot close to the window – avoid being directly under a lamp.
Ideally, you’ll be angling the image as though it’s the view of whoever is about to eat the meal – about 45 degrees. That works for flat dishes or pastries, says Spiegelberg. “With a soup or food in a bowl, it’s better to tilt it so the viewer can see what is inside.”

The main focus is the food, so avoid cluttering the background, Barsch says, advising beginners to use a plain, light-coloured wall or cardboard.
The background can and should support the mood, so if you’re eating country fare, try a rustic wood backdrop. White suggests well-being. A light background is ideal for a strawberry cake, for example, while a darker one might be better suited to something like a cheesy pasta dish. If you feel like it, try experimenting with colour contrasts.
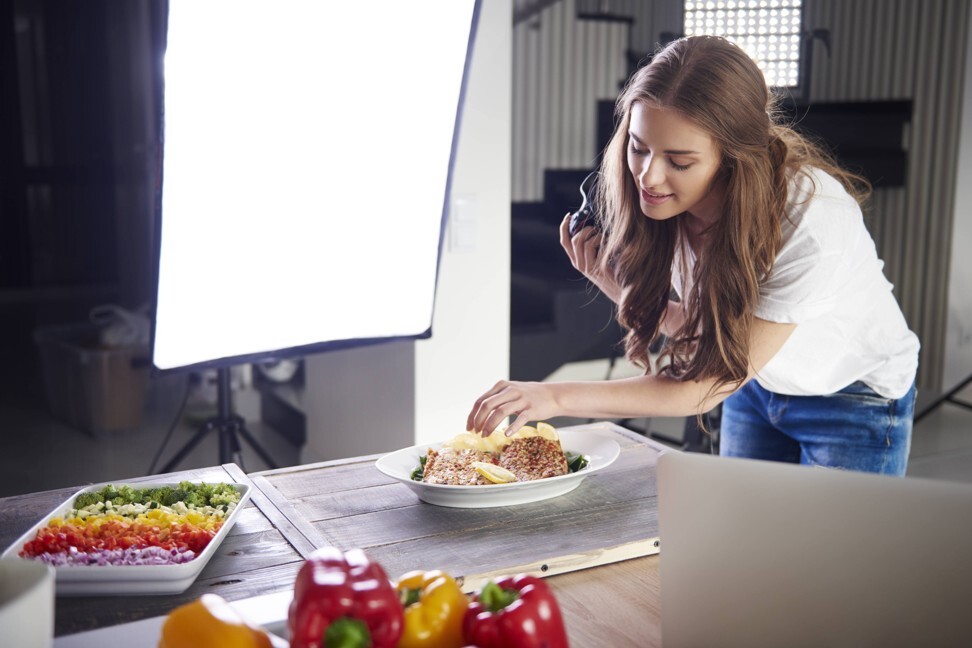
“Good food photos tell a story,” says Spiegelberg. Consider the ingredients used – or whether anyone has taken a bite yet? A first bite suggests something homey, while a fork also makes it seem accessible and adds an aesthetic touch.

Pick a plate that isn’t too big, and avoid overloading it – “every ingredient should be easily identifiable”, says Perch.
And if it all doesn’t turn out as you hoped, then you can always use free software like Darktable, Raw Therapee or Adobe Lightroom to touch things up. Among other things, colour temperature, brightness, contrast and saturation will help improve the shot, says Wohlleben.
“Some selective use of the correction brush will help you lighten up the food a little without putting the emphasis on the background,” she says.
Google’s free app Snapseed (Android/iOS) offers the possibility to control the colour contrast or blur certain areas in the picture.

