Seven tricks to get the most out of your expensive camera

I’m not a professional photographer, but like so many travellers today, I’m addicted to taking pictures. And since a couple of bucks per month of cloud storage space is all it takes to support thousands of frames per vacation, I usually snap them on my phone. On big-budget, once-in-a-lifetime trips, though, you want the heft of a DSLR or mirrorless camera to guarantee you’ll get the memento of your dreams.
But carrying better gear doesn’t make you a better photographer. The last time I unboxed a new DSLR camera, I held the stocky black body like a crystal ball and saw my future trip to Thailand and Myanmar playing out as one oversize, black-and-white gel print after the other – a close-up of an elephant eye, maybe, or Buddhist monks at a temple site. Once I got there, it was a different story. I got nothing but blurry shots from the speedboat on Bangkok’s Chao Phraya river and messed up the focal point of an ornate monastery in Myanmar’s old city of Bagan. What beautiful shots I came away with, I ended up getting on my iPhone.
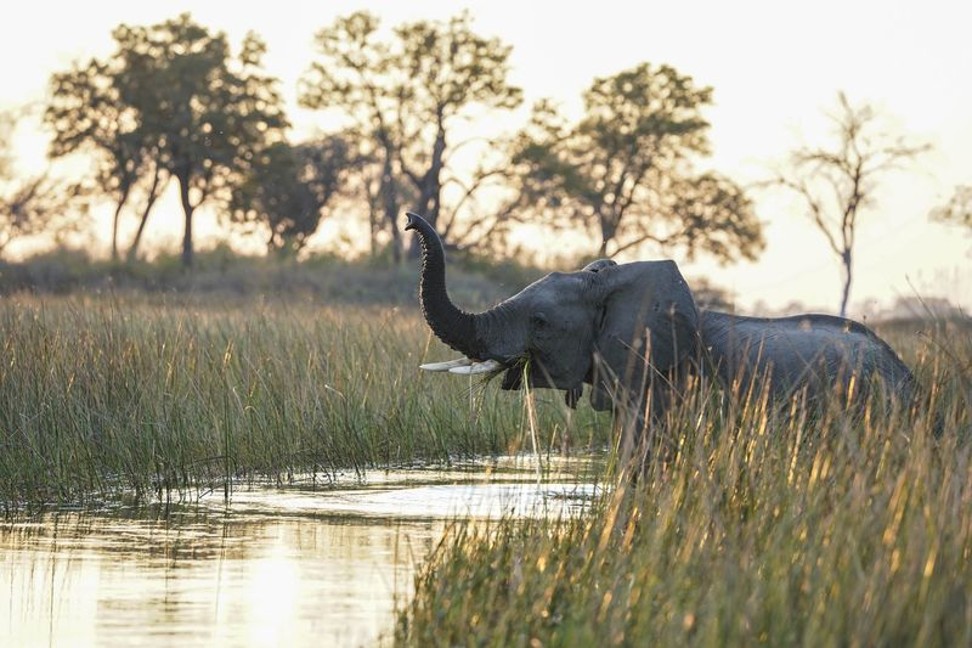
Here are seven tips I wish I’d known before that trip – and that have served me since. They come courtesy of several photography experts, including Bloomberg Pursuits’ own photo editor, and were tried and tested on my recent once-in-a-lifetime trip with Wilderness Safaris in Zimbabwe, Zambia, and Botswana.
The cameras I used were Canon’s EOS 77D and Sony’s a9 , some of the best DSLR and mirrorless cameras on the market today. The Canon is a US$900 user-friendly powerhouse that guides you through manual modes with thoughtful explanations, exactly when you need them. The a9 is Sony’s buzzy debut into top-of-the-line cameras. At US$4,500 for the kit alone, it’s targeted toward professional and manual shooters but easy enough for hobbyists to handle. With either one, your living room walls will thank you.
Switch Off Automatic Mode
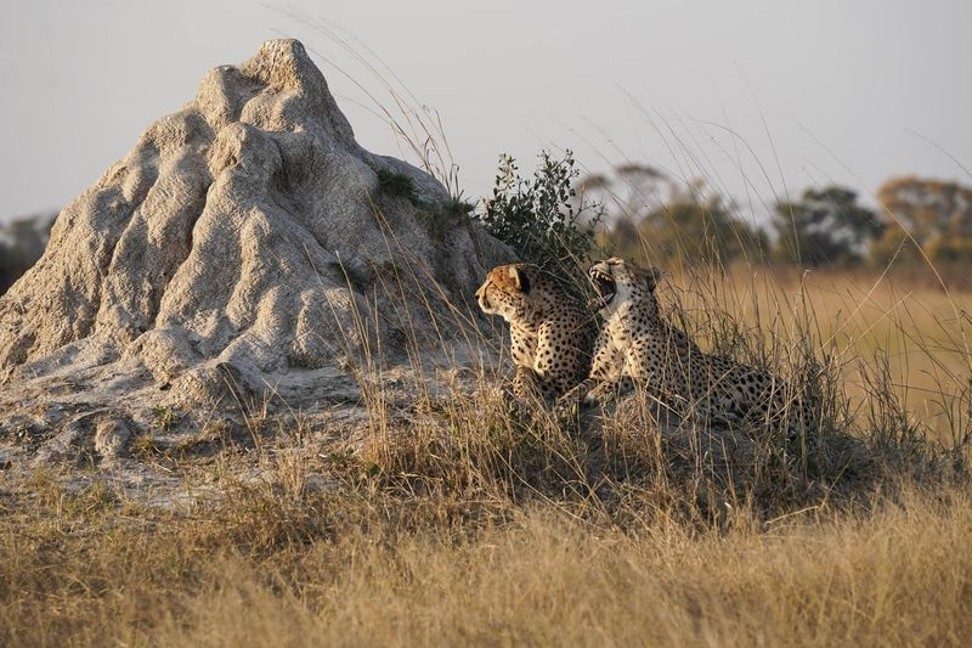
You’ve invested in a powerful camera, so now put it to use. The easiest way to dip your toe into manual settings (and a more creative style of photography) is by shooting on Aperture Priority mode. You’ll almost always find this option on your camera’s main dial, whether it’s on the top left or top right side of the body. On different cameras it can have other nicknames, so look for “Av” on Canon cameras or “A” on Nikon and Sony units. Generally speaking, someone shooting in full-on manual mode is controlling three factors that work in harmony: aperture, shutter, and ISO. When you shoot in Aperture Priority mode, you control the most powerful of the three and let the camera automatically adjust the other two.
Just by tweaking this one setting – which affects how much light the camera is taking in – you can adjust for different conditions and create what photographers like to call “depth of field,” the fancy way of describing a photo with a sharp foreground and blurred background, like what you get on iPhone’s Portrait mode. Leaving your camera on Automatic means your image will be focused on whatever the camera thinks is most relevant. On manual or semi-manual modes, such as Aperture Priority, you can determine the focal point for yourself – sometimes it’s as easy as tapping your touchscreen – to create far more dynamic images. You’ll be surprised at how much this setting will hold your hand and also offer creative freedom.
Start with the “Sunny 16” Rule
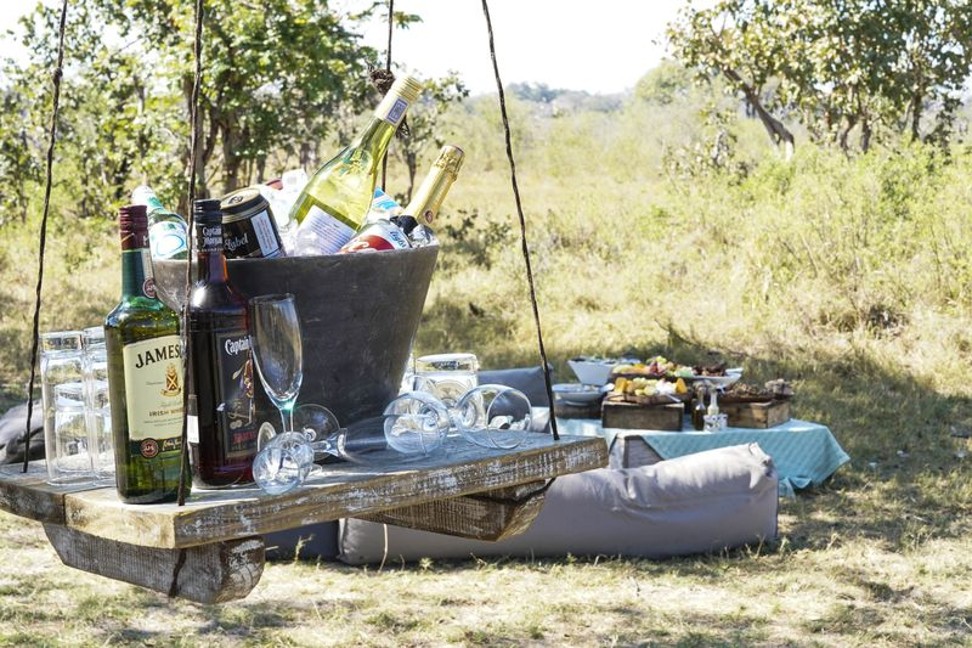
The “Sunny 16” rule is a favorite among photographers who are going fully manual, but its underlying basics are still helpful if you’re only shooting in Aperture Priority mode. But what you’re actually controlling is the “f-stop,” or the focal point. To put it simply, a larger f-stop has a wider focus – great for landscapes – and a smaller one offers narrower focus, for such things as portraits or macro shots.
According to the Sunny 16 rule, the perfect f-stop for a bright and sunny day is f/16. When things get halfway cloudy, shrink the f-stop by half and shoot at f/8. The darker your setting, the lower you can take your f-stop. Want to see a sliver of moon in the clear night sky? Try f/4.
The same math applies depending on the size and scale of your subject. A parade of elephants crossing the wide savannah? Definitely f/16. A zoomed-in shot of a tiny malachite kingfisher in the Okavango Delta? I went with f/3.2, even in broad daylight.
But every rule has its exceptions. If you’re using a powerful lens rather than the standard kit that comes with your camera, you may find that f/16 washes out your photos with too much light. While photographing animals on safari with a 2.8/70-200 Sony lens, I rarely went higher than f/10.
For Vivid Sunsets, Know Your Exposure
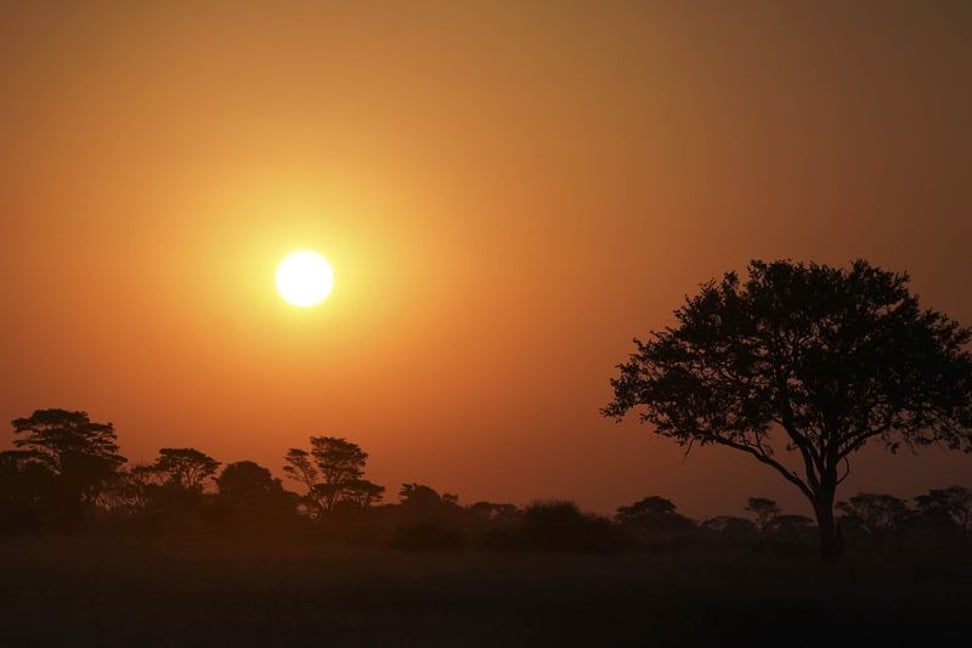
What plays better on Instagram than an epic sunset shot? Not a whole lot. But you can beat out the iPhone by toying with your exposure controls. On the Sony, exposure can be controlled with a knob on the top right side of the body; the latest Canon and Nikon models generally require you to find the setting on the touch screen, but you’ll know it when you see a sliding scale that goes from -3 to -2 to -1 and up to +1, +2, and +3. By default, your exposure can be left at zero, but turning it down to -1 or -2 at magic hour will enhance the deeper red tones in your sunsets. Voila!
Review, Review, Review
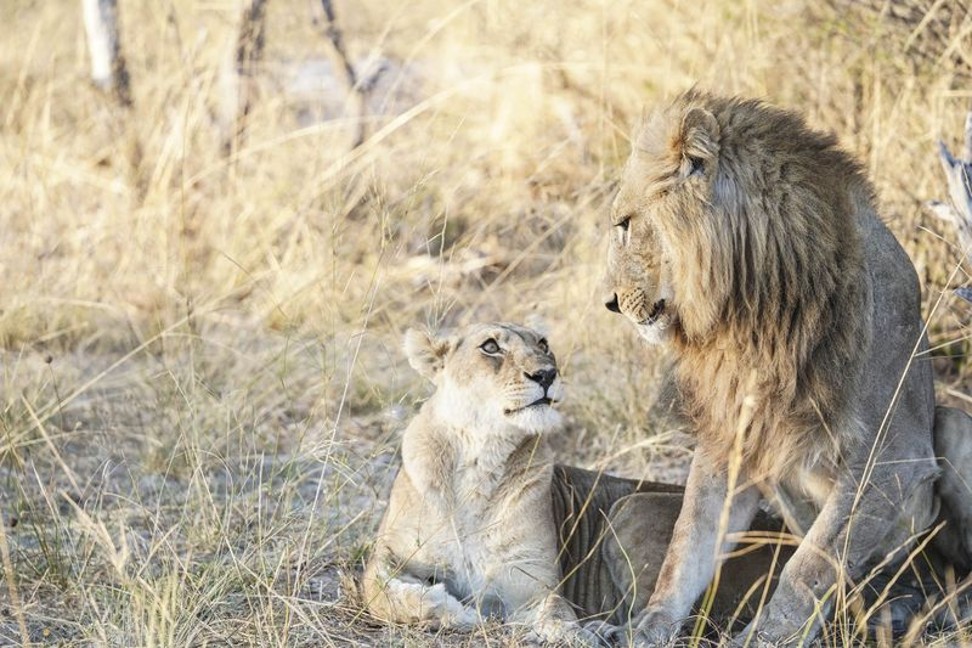
Despite the fact that most high-end cameras default to “live mode,” which gives you a mostly accurate sense of what your photo will look like before you hit the trigger, you may find that what you see through your viewfinder isn’t always what you’ll see in the image. So take a moment to look at your photos on location, while you still have time to correct course. I often shoot the same photo multiple times, making small adjustments to my settings on each frame: maybe I’ll tweak the f-stop from f/16 to f/12 to f/8 without changing my composition, then look back and see which one I like best. On this trip, it helped me get better definition when lions blended in with the plains, or to produce bluer skies against a leopard in a tree.
When performing these types of quality-control checks, zoom into a key detail and make sure you’re perfectly in focus, too – it’ll give you a sense of whether the photo is going to look as nice when you’re ready to blow it up and frame it. And if you can’t seem to get things quite right – or are in a pinch to capture a magic moment before it disappears –that’s your cue to use Automatic mode. It’s there for a reason, and it’ll do fine when you’re feeling stuck.
Know the Limits
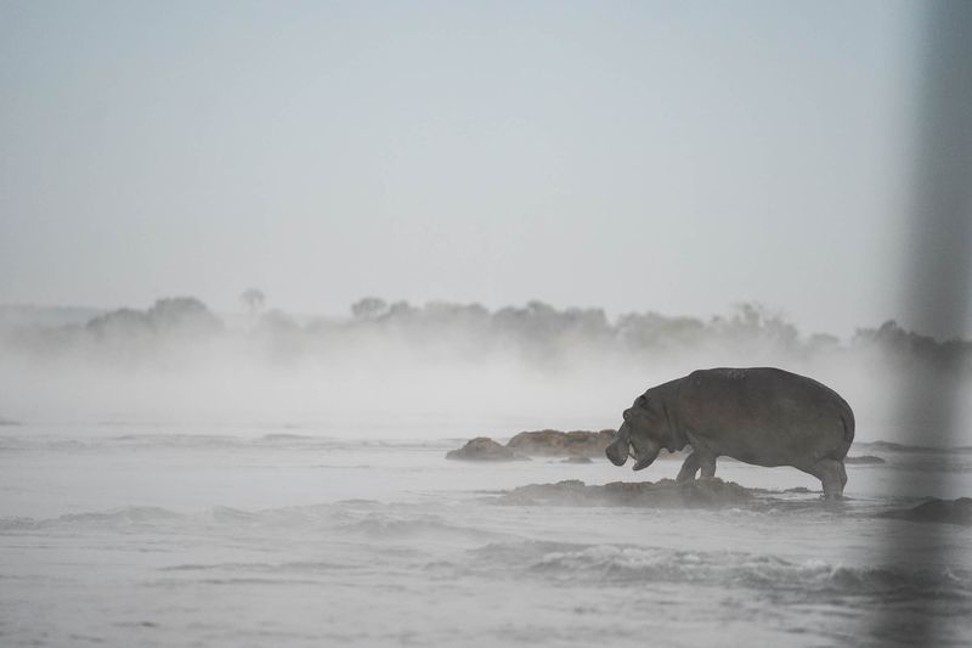
If you’re not getting what you want by manipulating your aperture, and aren’t ready to default to Automatic, it means you’re ready to play with additional manual controls. You’re probably trying to correct for blur or darkness, which you can accomplish by tweaking your shutter speed and ISO, respectively.
But the common mistake is to make extreme changes in your settings, ratcheting up your controls until you’re left with a grainy shot rather than a good one. One of our guides missed this rule of thumb and took shots of my husband and me at an ISO of 160,000 – they’re grainier than if I’d taken them on an original, released-in-2008 iPhone.
With that in mind, stick to subtler tweaks. Avoid pushing your ISO beyond 1600, which should be plenty powerful to get you a clear picture at night or in a dark restaurant, and limit your shutter speed to 1/2000. That should be fast enough to make moving carnival rides look stuck in time – a test I practised before my trip at Central Park’s Victorian Gardens.
Keep It Clean
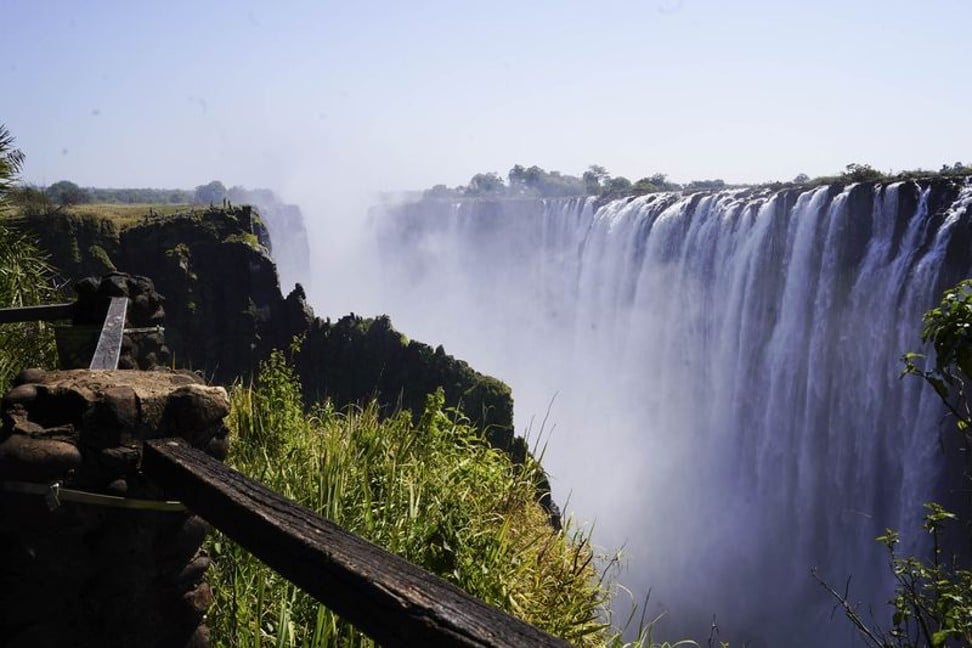
I love that Canon’s latest models automatically clean the image sensor every time you turn the camera off. You’ll notice a cute animation that says “sensor cleaning” with little sparkles around it. By contrast, the Sony a9 requires you to toggle through a few menus to find the “cleaning option” when you think your sensor needs dusting off. Regardless, make sure that you’re working with a clean sensor each time you turn the camera on or off. It’ll stop dust spots from landing in your images.
Know What to Buy, and What to Rent
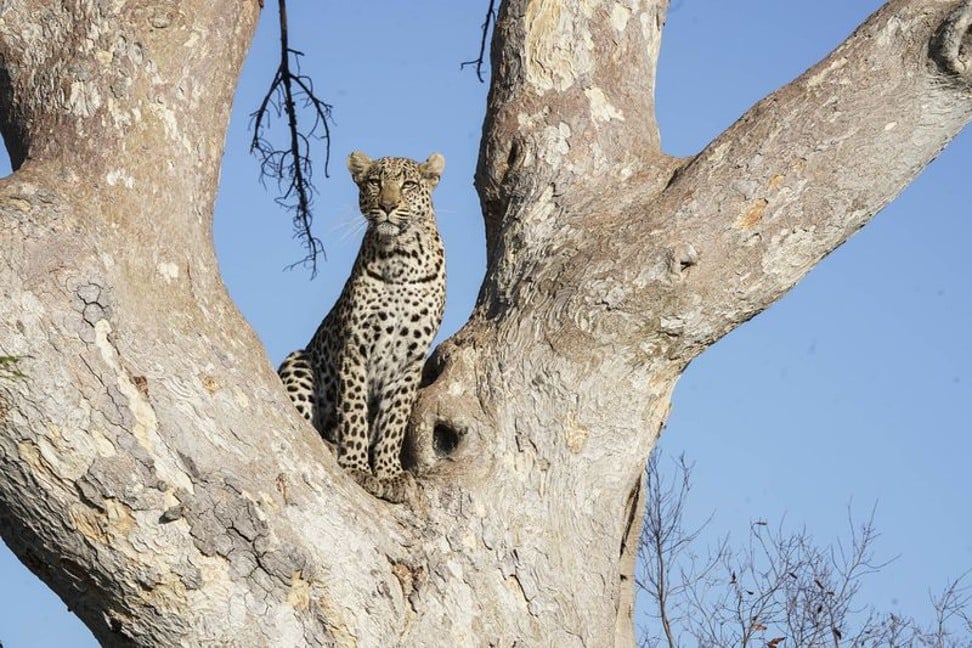
You don’t need to spend thousands of dollars on glass to get your dream shot. For casual photographers – people who take pictures mostly on especially exciting vacations – dropping tonnes of cash on lenses just doesn’t make sense. Sites such as lensrentals.com and borrowlenses.com offer a wide range of options for any trip and camera body (including underwater lenses), and they’ll often deliver right to your doorstep. The gear I tried? Sony’s $4,500 a9 cost $250 to rent for a week, and that giant lens is another US $134 for seven days. Canon’s EOS 77D is even less – US$62 for the week, and insurance around US$8.

Tips to better utilise your DSLR and mirrorless cameras from Canon and Sony