5-minute listening: Want to carve a pumpkin like a pro? Tools you’ll need, tips for keeping jack-o’-lanterns fresh
- Practise your English with our short listening exercises: play the audio linked below; answer the questions; and check the answers at the bottom of the page
- A glowing jack-o'-lantern is essential for any Halloween party, and here’s how to carve one from a pumpkin
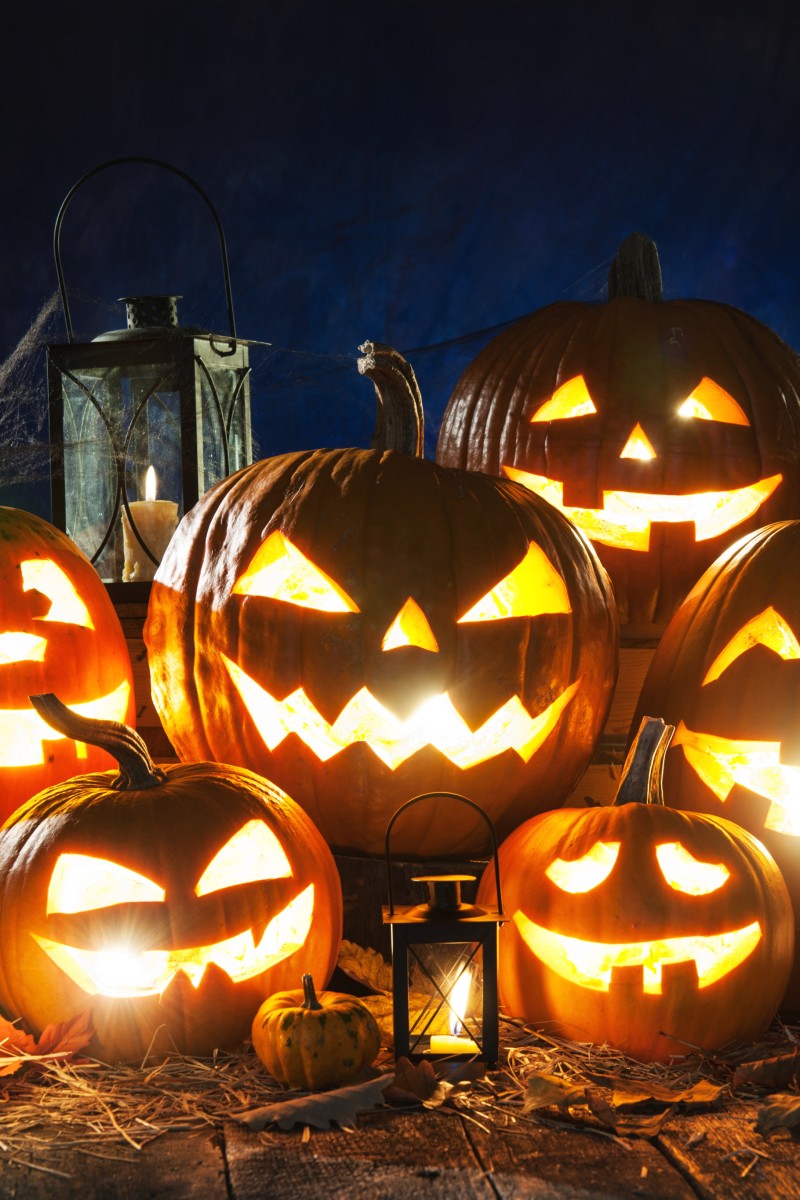
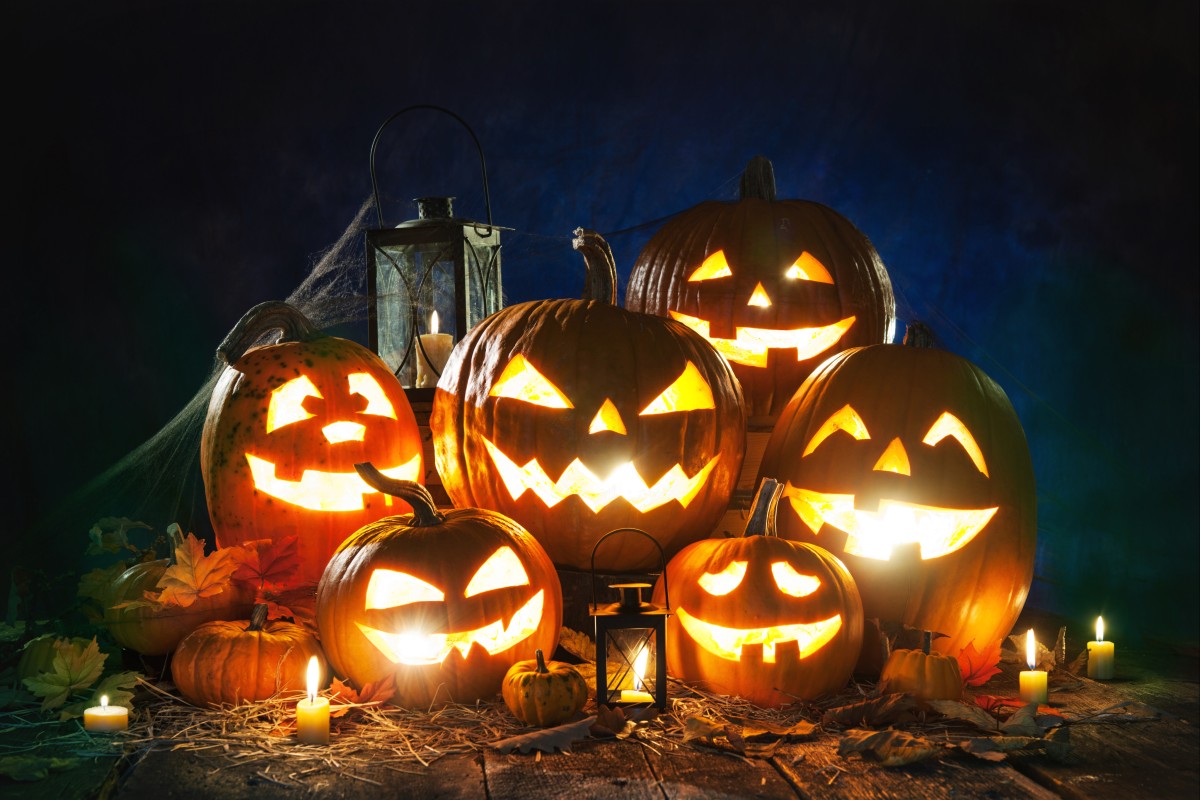
 Jack-o’-lanterns are a yearly Halloween tradition that comes from the United States. Photo: Shutterstock
Questions
1. What is the purpose of holding the workshop?
A. to showcase different types of pumpkins
B. to demonstrate how to carve a pumpkin
C. to pick up skills in how to create design stencils
D. to learn about the history of pumpkin carving
2. Which word can replace “intricate” at the beginning of the podcast?
A. elegant
B. effortless
C. complex
D. realistic
3. How many participants work on each pumpkin during the workshop?
A. one
B. two
C. three
D. information not given
4. Which tool is not used in the workshop?
A. chainsaw
B. carving saw
C. ceramic loop tool
D. clay ribbon tool
5. Which part of the pot should not be larger than the pumpkin?
A. its outer edge
B. its height
C. its weight
D. its inner part
6. If something is “snug”, it …
A. can stay in one place in the air.
B. does not sink easily.
C. is not firmly fastened in place.
D. fits another item closely.
7. What does it mean to “gut a pumpkin”?
A. to cut it into small pieces
B. to smash it against a hard surface
C. to remove its insides
D. to make cuts into its surface
8. What does Daisy suggest doing to extend the life of a carved pumpkin?
A. put it in a mixture of water and bleach
B. leave the pumpkin under the sun to let it dry out
C. cover it with a thin layer of oil
D. immense it in a bucket of detergent
9. What spice can be used to make the pumpkin smell better?
A. bleach
B. cinnamon
C. paprika
D. mildew
10. Complete the steps for carving a pumpkin using information from the podcast.
Directions:
(i) Place the pumpkin on top of a ____________ to secure it.
(ii) Cut a hole to create a lid using a ____________.
(iii) Take out all the unwanted parts of the pumpkin with a ____________.
(iv) Trace the design on a piece of ____________ and carve it out using a linoleum cutter with a V-shaped nib.
(v) Smooth out any rough edges using a ____________.
Script
Chan Heung-ying: Hi everyone and welcome to this morning’s workshop on pumpkin carving. Today, we have with us Daisy Morgenstern, the owner of Stoneykins which specialises in custom-made intricate jack-o’-lanterns and design stencils. She also happens to be an expert on Halloween pumpkin carving. Welcome, Daisy!
Daisy Morgenstern: Thanks for having me, Heung-ying. Good morning all. I see we’ve got a full class today! Today’s workshop will be conducted in pairs, and Heung-ying will be my assistant for the day. Before we get started, let’s have a look at the tools you’ll need. The tools you’ll need today are a Sharpie pen, a large spoon, a linoleum cutter with a V-shaped nib, a couple of printed designs or stencils, a pumpkin carving saw, some white art transfer paper, a pear-shaped ceramic loop tool, a clay ribbon tool and a pot that is slightly smaller than your pumpkin.
Chan Heung-ying: What’s the purpose of the pot?
Daisy Morgenstern: It’s easier to carve your pumpkin when it’s placed on a pot. Be sure to find one with a rim size that’s just a bit smaller than the pumpkin you’re carving so that it sits nice and snug. If you’re putting it on the table by itself without the pot, then you’re constantly angling it and holding it. If you put it on a pot, then both your hands are free.
Chan Heung-ying: I see. That’s a really smart idea! Where shall we begin?
Daisy Morgenstern: The first step is to cut a hole for the lid. Using your Sharpie pen, outline a carving path at the top of the pumpkin for your lid. The stem will be your handle. Then carve the lid using your saw at a 45-degree angle to give it a nice bevel edge.
Chan Heung-ying: What do we do next?
Daisy Morgenstern: Now, it’s time for the messy bit – gutting the pumpkin with a large spoon. Once that is done, use a pear-shaped ceramic loop tool to scrape away the excess and thin the pumpkin walls. Be sure to make the front wall, where your design will be carved, slightly thinner.
Chan Heung-ying: Phew! That’s a lot of work! And now I suppose we can start designing it?
Daisy Morgenstern: Indeed! Now that the hard labour is done, we can focus on the fun part! There are several ways to do this, and my favourite is a method using art transfer paper. Place your printed design on top and use a pen to outline the pattern. Then carve the outline with the linoleum cutter. Once you’re done, smooth out any ridges with a clay ribbon tool. And here’s your Halloween pumpkin.
Chan Heung-ying: That’s amazing! It’s much easier than I thought it would be. I do wish we could keep it for longer, especially since we’ve put so much effort into it.
Daisy Morgenstern: Well, there’s actually a trick to making it last. Simply dunk the pumpkin in water with a few tablespoons of bleach after carving. This stops mould and mildew from growing. And to get rid of the nasty smell of the bleach, light a candle inside the pumpkin and sprinkle some cinnamon powder on the inside of the lid. The candle will “cook” the spice and your jack-o’-lantern will smell like pumpkin pie. And to keep squirrels from snacking on your pumpkin, dampen the pumpkin and sprinkle paprika on it.
Chan Heung-ying: Thanks so much for these really useful tips, Daisy! We hope you have enjoyed today’s workshop – and Happy Halloween!
Answers
1. B
2. C
3. B
4. A
5. A
6. D
7. C
8. A
9. B
10. (i) pot; (ii) pumpkin carving saw; (iii) large spoon and then a pear-shaped ceramic loop tool; (iv) art transfer paper; (v) clay ribbon tool
