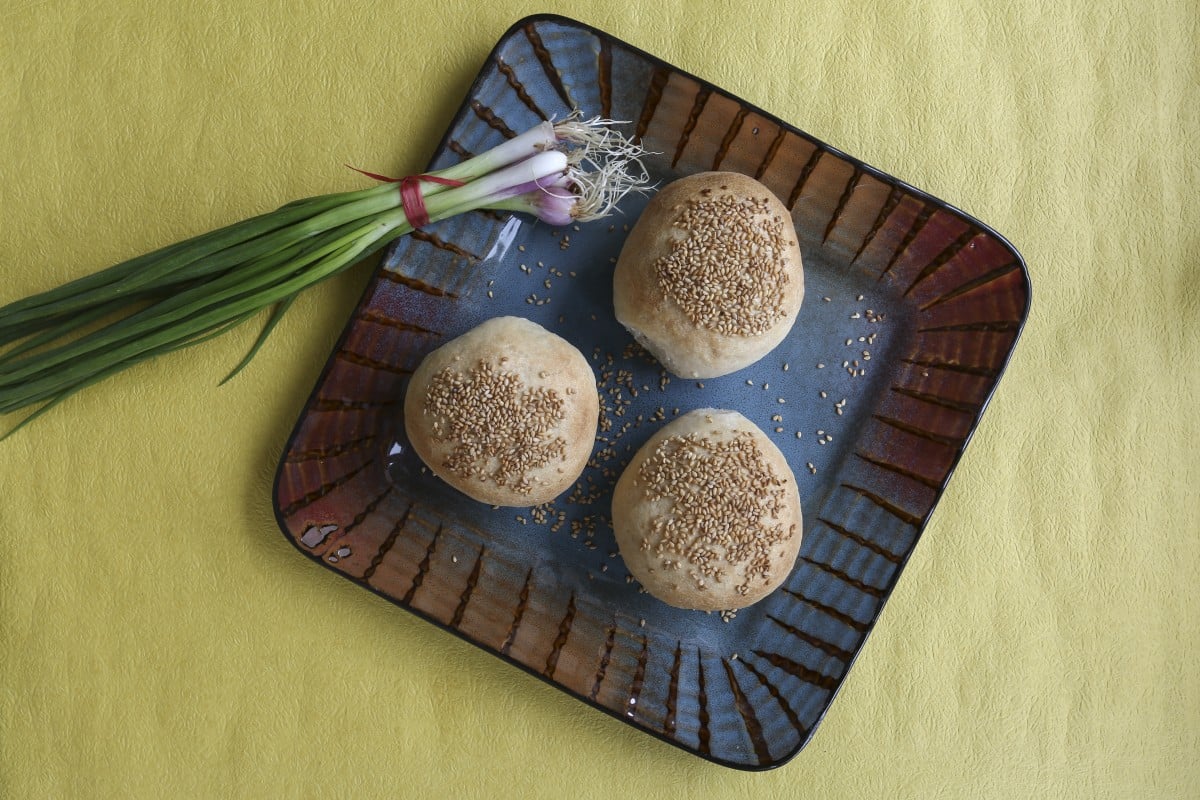
These black pepper buns are a delicious and addictive snack that you can buy at night markets in Taipei. The vendors stuff an enormous amount of pork and spring onions into the dough before cooking it in a tandoor-like oven. I've never seen them outside Taiwan, so decided to make my own.
It’s essential to use good-quality fresh pepper. Ground pepper is fine, but test that it’s still fragrant by taking a cautious sniff. And you’ll need two skillets – preferably cast iron (not the enamelled type) – to start cooking the buns on the stove top, before they’re baked in the oven. Of course, if you have a tandoor, then you can use that to cook the buns.
These are mildly peppery hujiaobing; feel free to add more pepper, if you like a stronger flavour.
Make the jellied stock. Remove the skin from the pork belly and cut it into thin strips. Dice 300g (10½oz) of the pork belly meat and fat into 5mm (¼in) cubes and set them aside. Cut the remaining pork belly into chunks and place them in a small saucepan with the skin.
Roughly chop the ginger and add it to the pan along with a teaspoon of salt and 200ml (¾ cup and 1tbsp) of water. Place the pan over a medium flame and bring to the boil. Lower the heat, cover partially with the lid and simmer for 30 minutes, or until the pork skin is very soft. Strain the liquid through a colander into a bowl and cool to room temperature, then refrigerate until solid, about two hours.
While the stock is simmering, put the reserved diced pork belly meat and minced pork into a bowl. In a small bowl, mix together the soy sauce, rice wine, oyster sauce, sesame oil, white and black peppers, sugar, five-spice powder and half a teaspoon of salt. Add this to the pork, mix thoroughly and refrigerate.
Make the roux. Melt the lard in a saucepan, then add the flour and salt. Cook over a low flame for about three minutes, stirring constantly. Put the mixture into a small bowl and leave to cool.
Make the dough. Mix together the flour, sugar and salt in a bowl and add the melted lard. Add 280ml (1 cup and 2tbsp) of cool water and mix by hand to form a soft dough. Knead the dough on a work surface until it is pliable and smooth, but not sticky or dry. If needed, add a little more water or flour. Cover with cling film and leave at rooom temperature until ready to shape the buns.
Chop the spring onions into 5mm (¼in) pieces and put them in a bowl. Heat the oven to 250° C (480°F).

Weigh the dough and divide it into 10 equal portions. Weigh the roux and divide into 10 equal portions. Cut the jellied stock into small chunks, add them to the chilled meat mixture and mix well with your hands, breaking up the jelly and distributing it evenly throughout the meat. Weigh the meat mixture, divide it into 10 equal portions and refrigerate.
Put a piece of dough on the work surface and roll it into a rough 15cm (6in) circle. Smear the roux over the circle, leaving a 5mm (¼in) border around the perimeter. Roll the piece of dough into a tight cylinder then fold it into thirds, pressing the right and left sides over each other. Roll the dough to stretch it slightly, then again fold it into thirds. Put the dough on the work surface while shaping the remaining pieces. Cover with cling film and leave to rest for 15 minutes.
Take a piece of dough and roll it into a 15cm (6in) circle, making the edges slightly thinner than the centre. Place a portion of the meat mixture onto the centre of the dough circle and top with a small handful of spring onions, pressing them into the meat – add as many as you can handle. Lift and stretch the edges of the dough over the filling and press together tightly to seal. Lay the bun sealed-side down on the work surface and shape the remaining buns. You might have some spring onions left, but you should have used most of them.
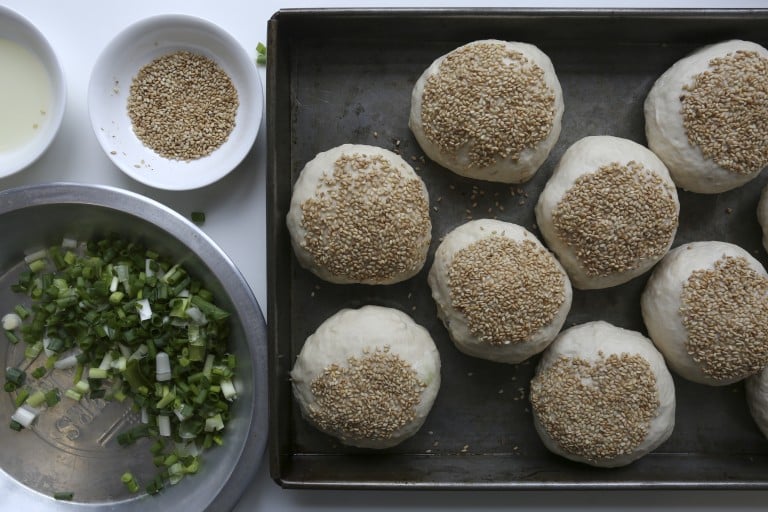
Put some sesame seeds in a bowl. Rub two 28cm (11in) skillets very lightly with oil, then place over a high flame on the stove and heat to 300°C (570°F) - use an infrared thermometer to check that it is evenly heated. Brush the entire surface of the buns with the sugar and water mixture then dip into the sesame seeds so the top is coated. Place the buns sealed-side down into the skillet (you should be able to fit five into each pan). Cook the buns on the stovetop for about a minute, or until you smell it starting to char, then slide the skillets into the oven. Bake for 15 minutes, or until well browned and cooked through. Use a metal spatula to remove the buns from the skillets and allow to cool briefly before eating.
These taste best fresh, but leftover buns can be reheated for 10 minutes in a oven preheated to 250°C (480°F).